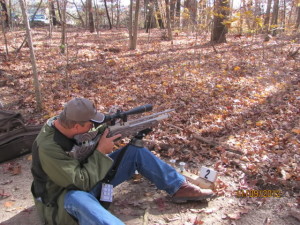
In field target we primarily use the seated position for most of our shots. Of course, we see forced positions of offhand and kneeling on every course, but seated is our bread and butter. Most shooters figure out a comfortable seated position pretty early on, but I often see basic mistakes made that could improve a shooters seated game.
To get us started, here’s a photograph of my typical seated shooting position. Note the right elbow planted firmly on the right thigh. Left hand supports the forearm of the rifle. Butthook of the rifle solidly planted in the right shoulder.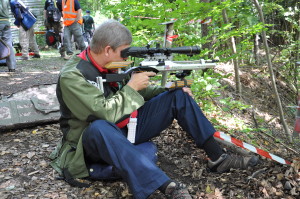 All of this is key to a good position. This photo was taken when I was shooting in Germany at the World Championship match in 2013. It was actually good terrain as you can see in the photograph. No big surprises, but they had plenty of steep up and down hill angles to deal with later on in the match!
In setting up our position, we have to first establish a solid position when taking a seated shot. That can be very challenging on rough terrain that we commonly encounter on field target courses in the woods. It’s one thing to sit down in the back yard at home and establish a solid seated position, but yet another to do so when there are rocks, logs, un-level earth under our position. This is why it is crucial to establish good form at home and learn to adapt while still keeping the basic form in tact on the rough terrain of a field target course.
In establishing a solid seated position, I like to think of the position as a three point or pyramid.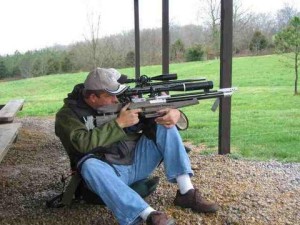 Of course your rear is solid in your bum bag or seat, your left foot is planted firmly on the ground and so is your right foot. This can be difficult if you’re shooting from an incline or shooting an extreme angle up or downhill. Either way, you still need to think about the basics. Sometimes you need to even think about whether your feet are on top of loose leaves, or pine straw that may slide or move once you are ready to shoot. If so, don’t be afraid to dig a heel into the ground and clear the rubbish away before establishing your final shooting position. I do this pretty often, especially on an incline. I typically wear hiking shoes with a good grip so they will dig in and stay where I put them.
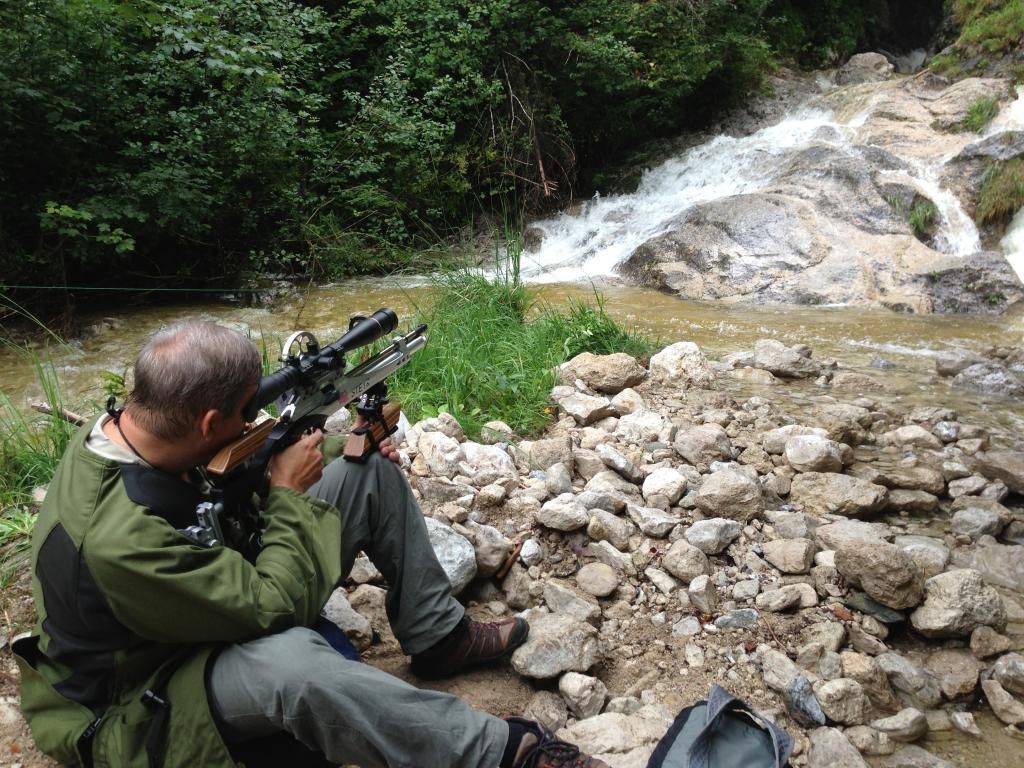
In the photograph to the below, I was shooting a lane on a field target course in the mountains of Austria. Note the rocky terrain. It was fairly level, but tricky to find good footing. Even so, you can see I still tried to maintain my standard position to take the shot.
Next we move up the pyramid to the position of the arms. This is crucial to taking a stable shot. I lot of times I’m at matches and see shooters “chicken winging” the trigger arm off to the side with no support. DON’T DO THIS! The arm of the trigger hand must be tucked in and firmly planted on the leg. I like to plant my right arm on my thigh and support the rifle well in this position. Likewise, the non-trigger arm should also be firmly planted on the opposite leg. This continues that pyramid that we discussed earlier. I don’t use the non-trigger arm as much to support the gun as I do to lightly correct potential movement of the forearm of the rifle. It does need to be comfortably positioned though and I believe the non-trigger hand should lightly support the forearm around the left knee.
Since I shoot off of my knee, the rifle’s forearm is positioned on my left knee. I believe this is the most stable seated position for me. Some shooters actually position the rifle on their non-trigger arm to support it rather than the knee. If that position works for you, that’s great and the instructions I’m describing here may not be all that helpful. I do encourage you to experiment with the position I’m describing and see what results you find.
Finally, the rifle should be firmly planted into the shoulder. I use an Anschutz butthook on my Steyr. I find it to be very helpful in locking the rifle into a predictable location time after time. This is very important as you need to be able to replicate your position each time you shoot. If you can’t, then it is very difficult to maintain consistency in your shooting.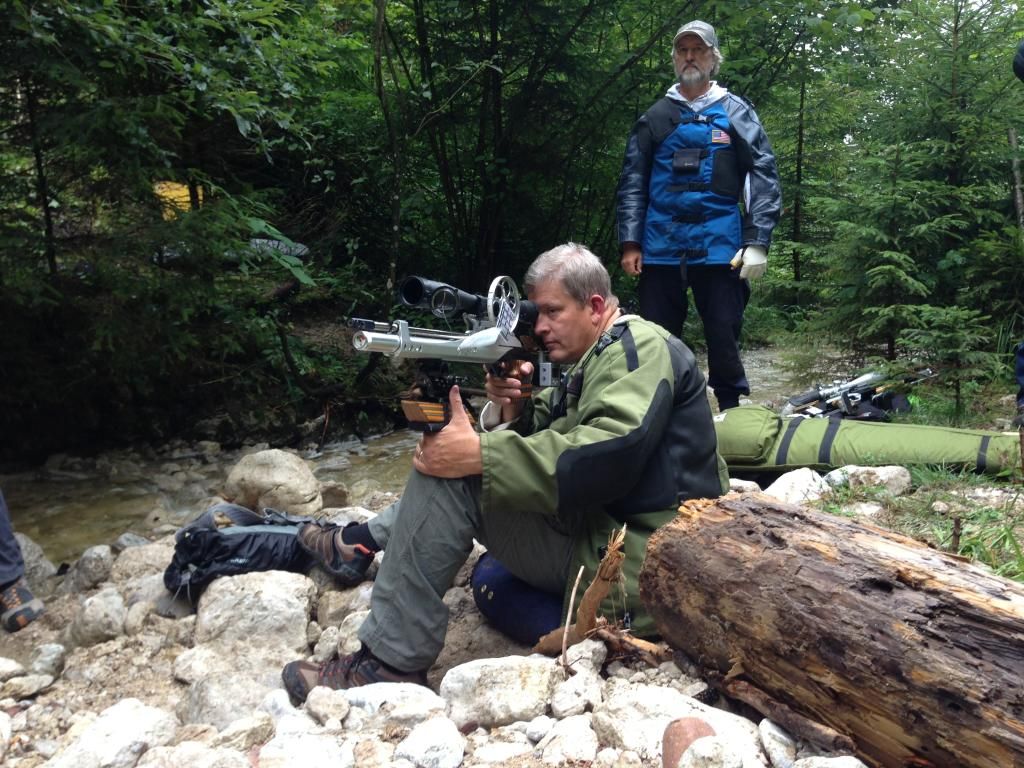 This is also a good point to note that I move my rifle butthook up and down depending on whether I’m shooting uphill or downhill. I have a neutral position for standard level shots, but I also adjust the butthook up if I’m shooting an extreme angle uphill or down if I’m shooting an extreme angle downhill. I have a quick release thumb screw set up on my butthook that allows me to do this quickly and efficiently when needed. There’s a notable difference between the standard neutral position as the correct location of the butthook on an extreme angle shot.
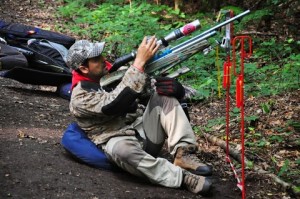 Here you can see my friend Jose Redondo (Pepone), former World Champion Field Target shooter, getting ready to take a steep uphill shot in Germany. These shots are difficult and are designed to take you out of your typical position. However, if you learn the basics well and prepare for unexpected terrain, these shots are manageable. The set up of the rifle will also help out a lot on these difficult shots, but that’s another topic for another day!
I have been asked many times what I see when I look through my scope to take a shot. Then the usual comment is, “do you see your reticle moving around?” and “can you see the kz of the target pretty clearly?” My answer is this: If I set up the position like I’ve described above, I see my reticle sitting solidly where I position it. No, it does not move around. No, it’s not bouncing up and down. It is just rock solid. Just as if I had the rifle sitting on a bench. That’s how stable the seated position should be!
In summary, I think the most important part of taking a seated shot is stability. You must set up a platform for lack of a better term. Your rear and feet make up that platform. The platform then extends upward to your knees, then into the arms where they are firmly planted on the thigh and opposite knee and then finally ending with the rifle firmly planted into the shoulder. If you do it right, the position is comfortable, stable and your shot will be accurate. Deviate from what you have practiced and the result may not be favorable.
 I hope this information has been helpful. Spend some time testing the ideas I have described here and see if they help out. Modify as necessary and remember consistency is the key!

